Our ticketing tool Zendesk is available at this address: https://help.woopit.fr/hc/en-gb
This post explains how to:
- Create your Zendesk account
- Submit your requests to Woop/Mapo
- Track your ticket status
How to create my Zendesk account ?
You can create your account by following the following steps:
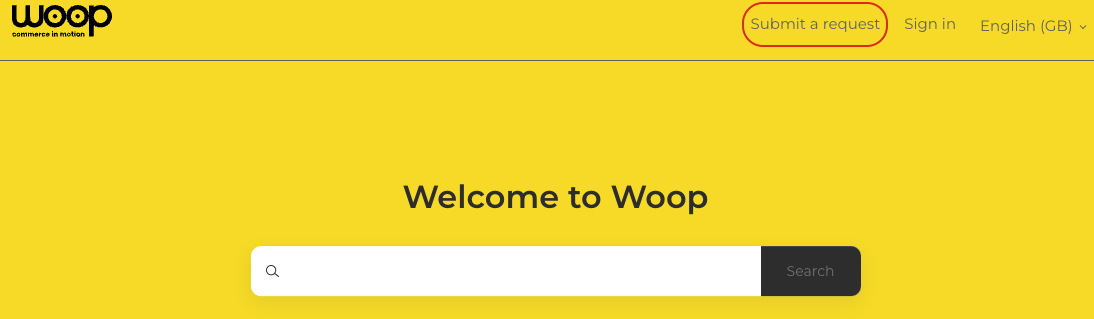
- Click on “Sign in” at the top right corner of the platform.
This page should appear:
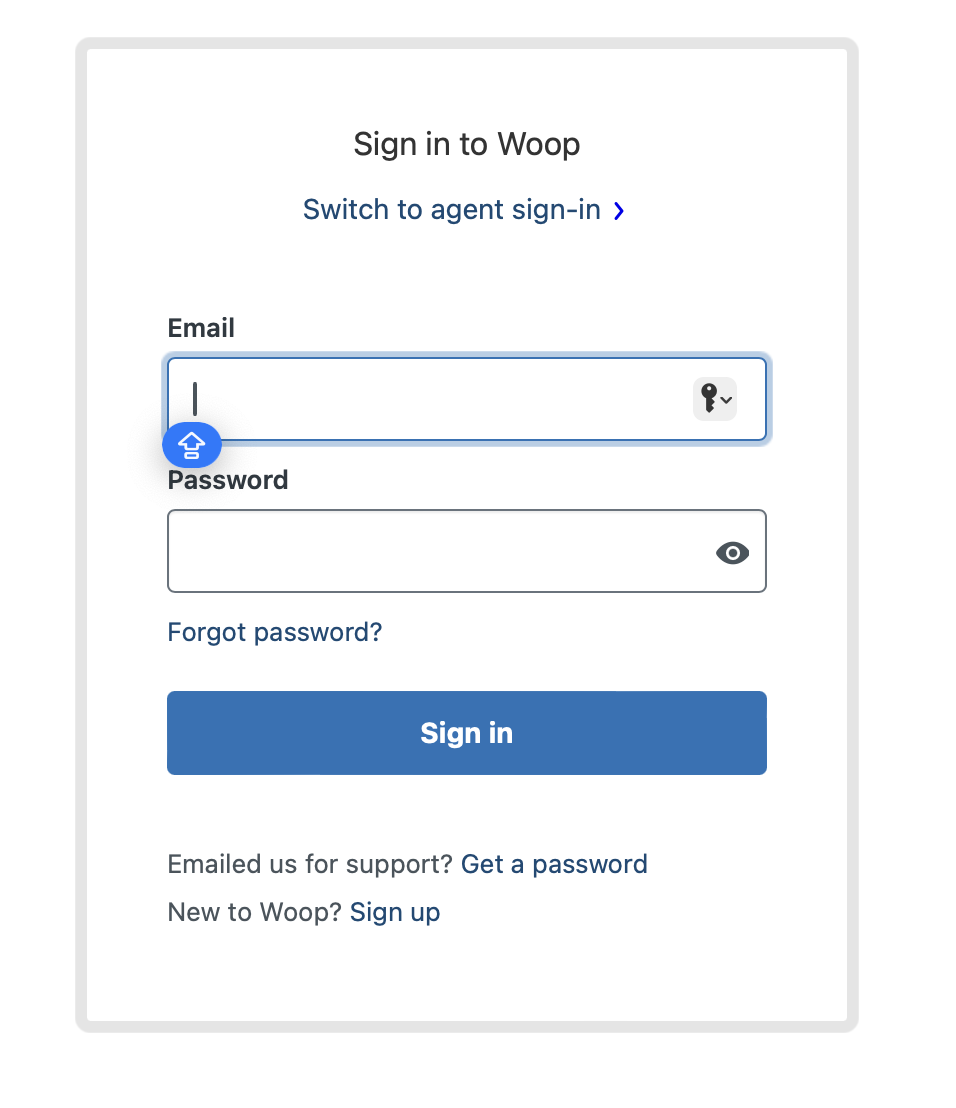
Click on "Sign up" (next to "New to Woop?").

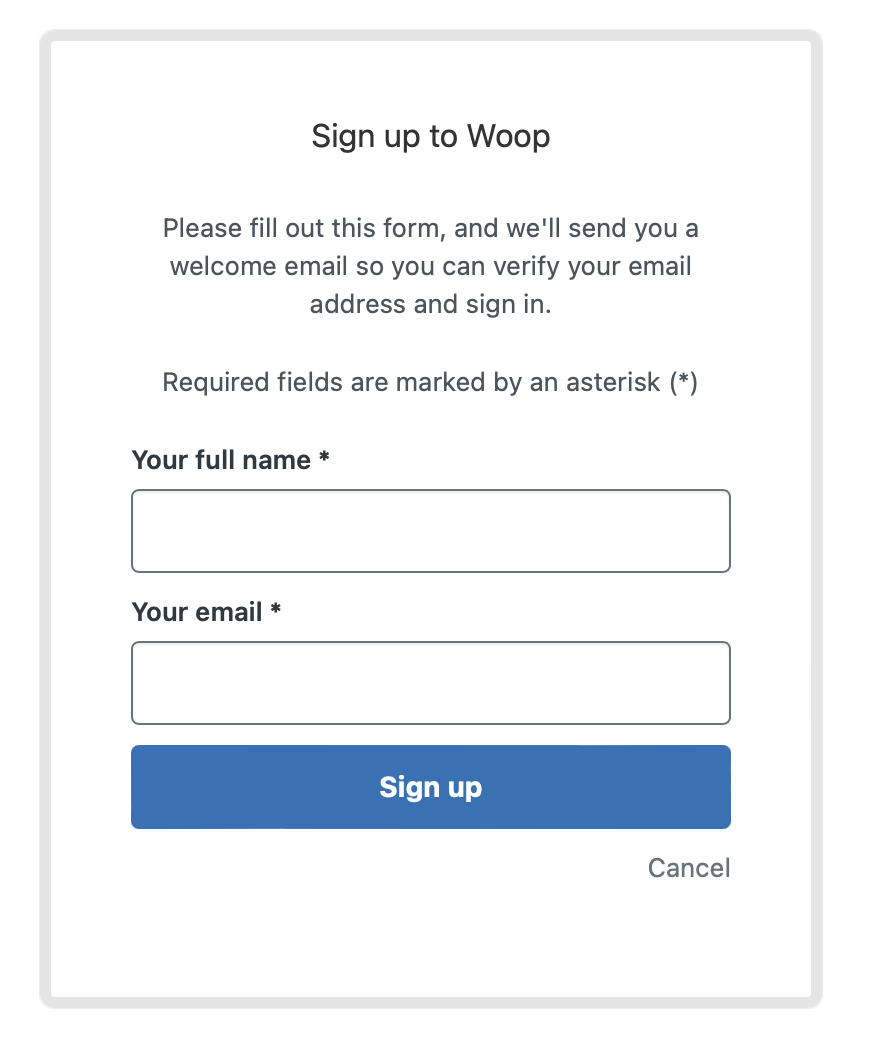
- Enter your first and last name in the "Full Name" field
- Enter your professional email address
- Click on "Sing up"
A message asking you to verify your email address will appear:
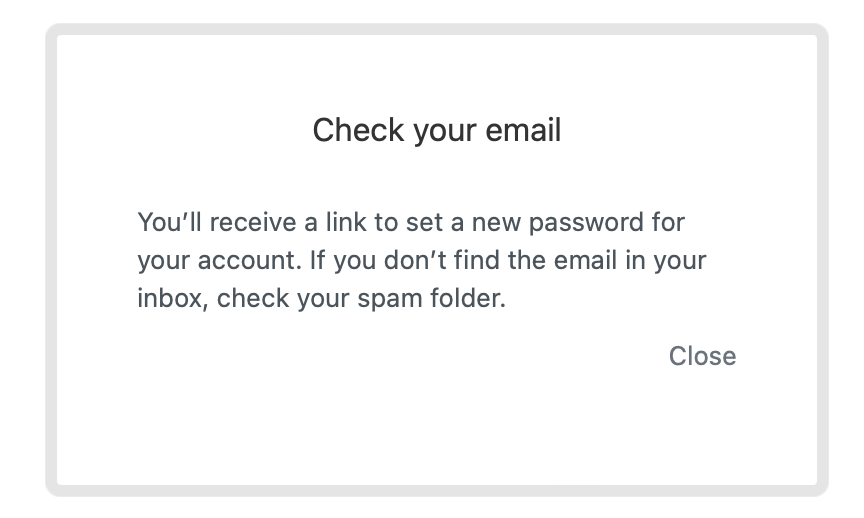
Check you inbox and click on the Zendesk link and you will be taken to a page asking you to enter your password.
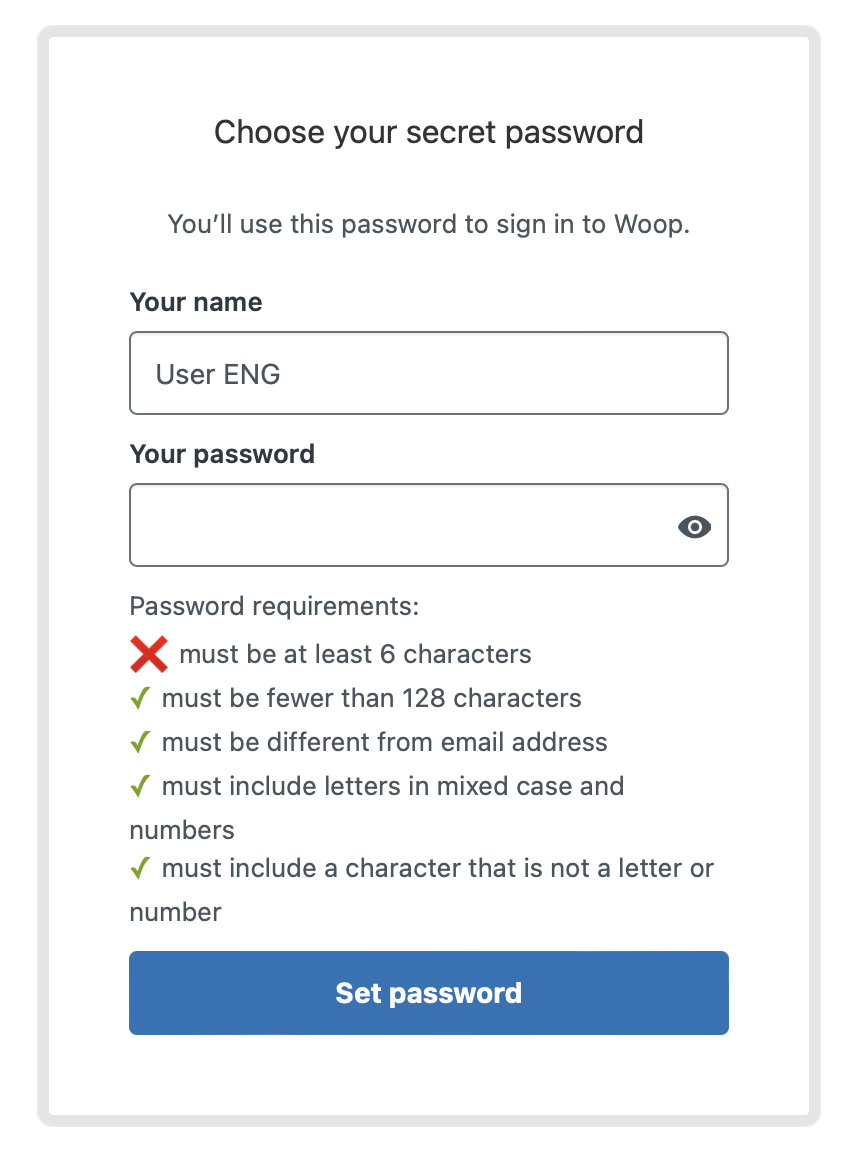
You now have an account on our ticketing tool Zendesk and you can submit your request to create a ticket.
It is possible to send a request before creating your account. But the system will eventually ask you to create an account anyway in order to validate the creation of the ticket. You will receive an email with a link for your account creation. Follow the procedure indicated in the email.
How to submit a request ?
Now that you have an account, you can create tickets and track their statuses.
First click at the "Send a request" button at the top right of the portal to the left of your account.
You will arrive on a page containing a drop-down menu presenting the different types of requests:
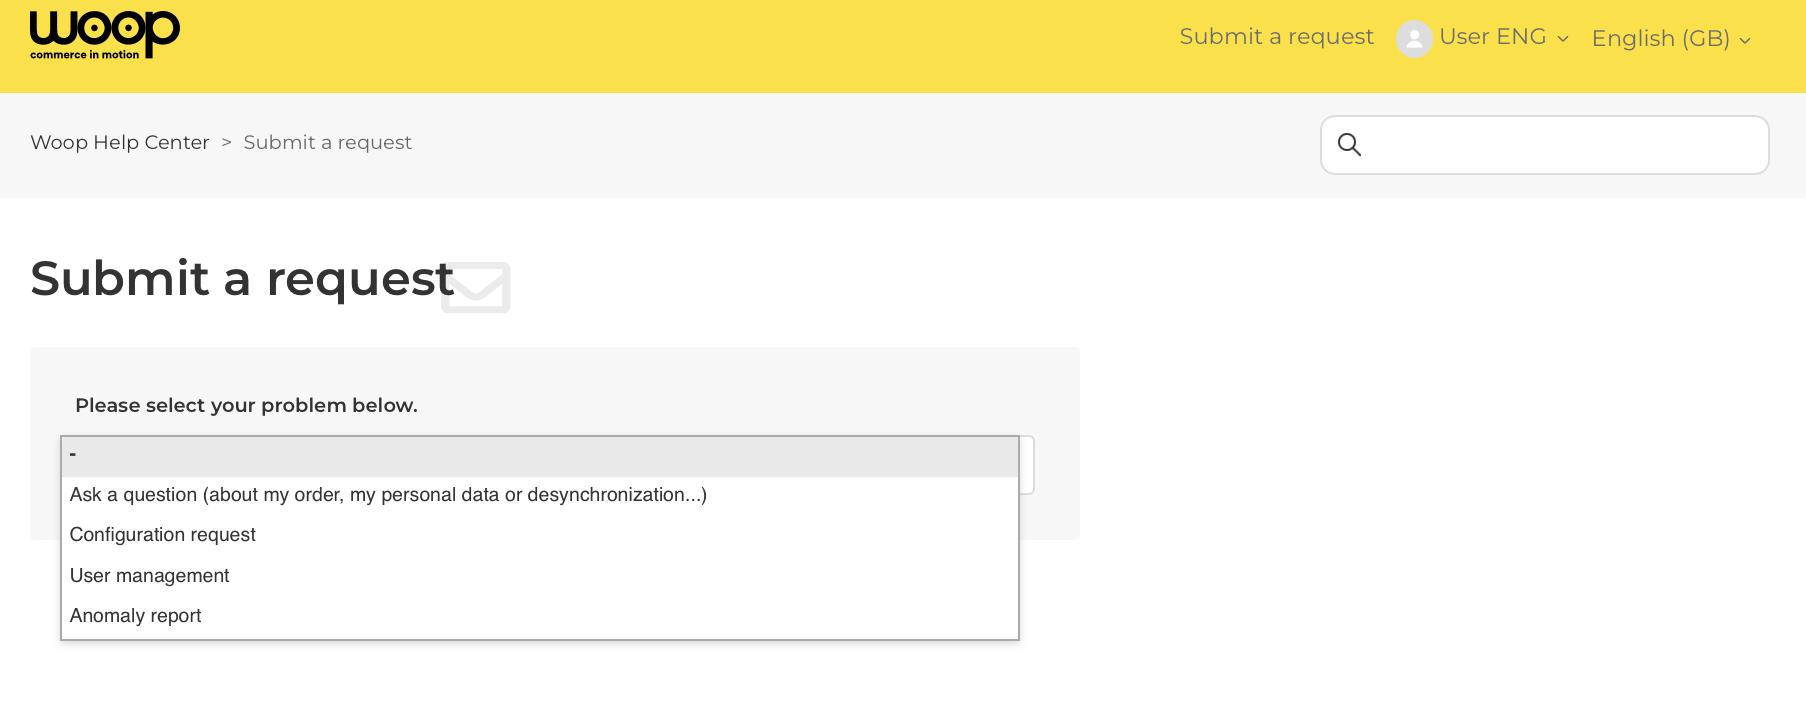
Here are the requests types:
- Ask a question (about my order, my personal data or desynchronization, etc.):
https://help.woopit.fr/hc/fr/requests/new?ticket_form_id=18571527384593 - Configuration/Set up request:
https://help.woopit.fr/hc/fr/requests/new?ticket_form_id=18571721281169 - User management:
https://help.woopit.fr/hc/fr/requests/new?ticket_form_id=18899611239697 - Reporting an anomaly:
https://help.woopit.fr/hc/fr/requests/new?ticket_form_id=18899602083601
For each request type, you must therefore complete a form:
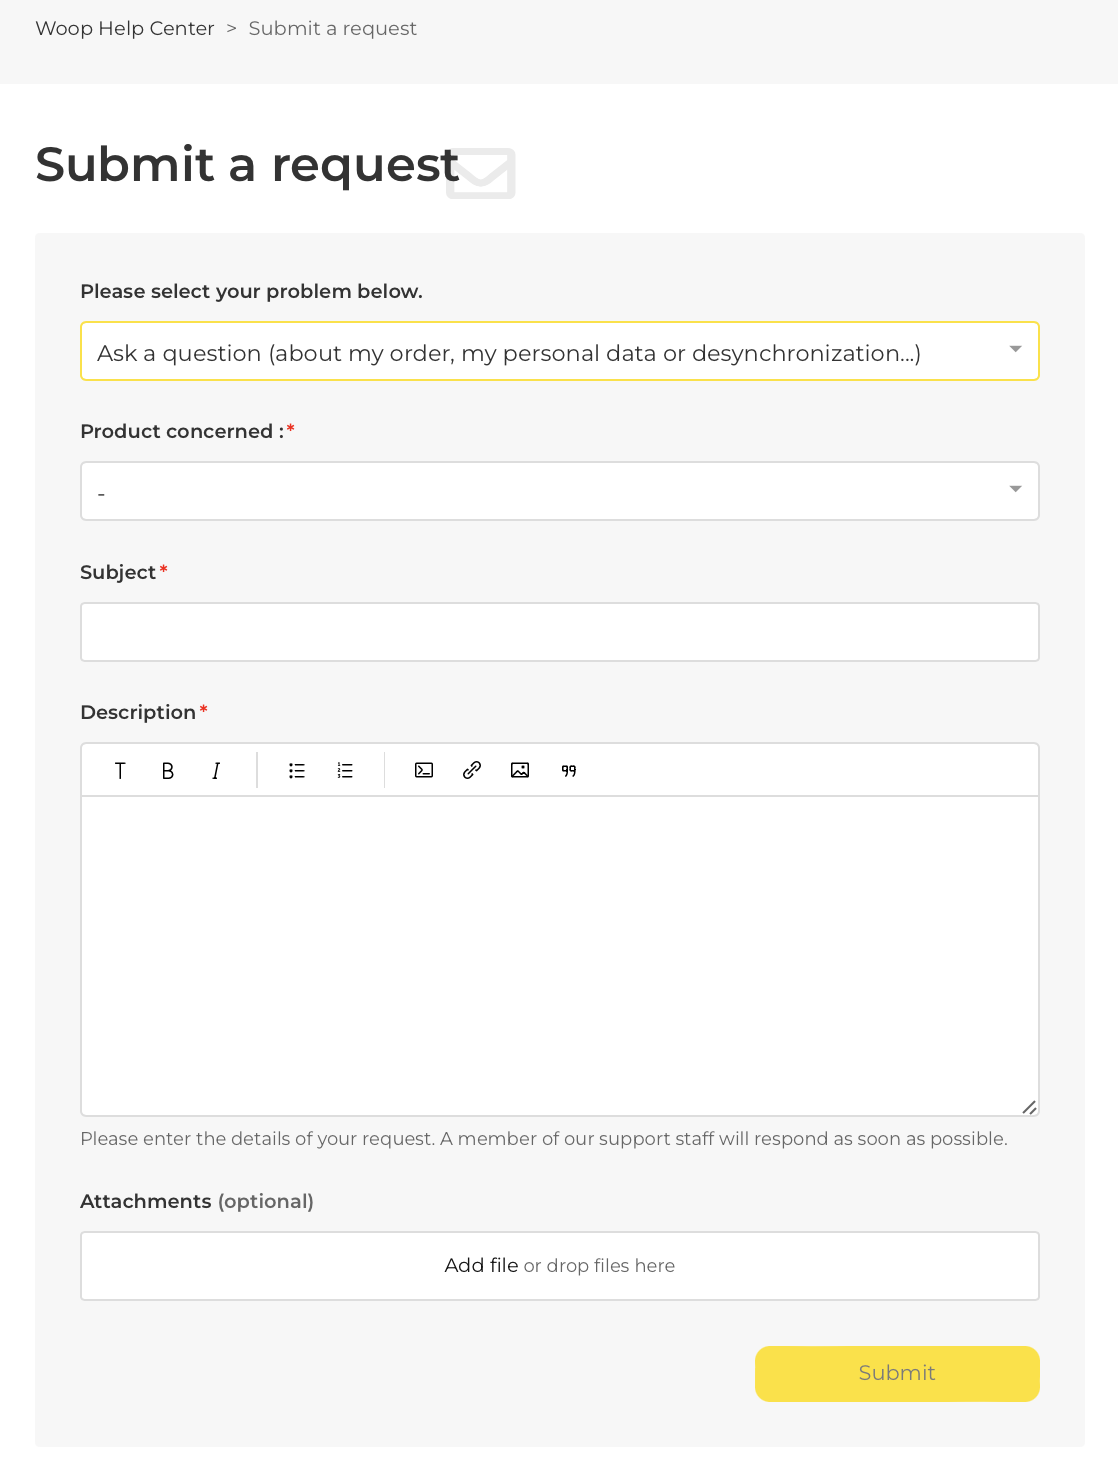
Here is the list of fields to complete, some of which are mandatory (with a red asterisk)
- Request type. It is possible to switch from one request type to another by using a dropdown request list
- Product: select the concerned product Woop or Mapo
- Account Name: enter your brand name
- Subject: describe the subject of your request in a nutshell
- Description: describe your problem or ask your question and give examples/screenshots/links
- Environment: does the question or the encountered problem impact production or test environment?
- Priority: the priority level. There are 4 priority levels, from low to urgent
- Attachments: you can add Excel or other type of files
How to follow my request?
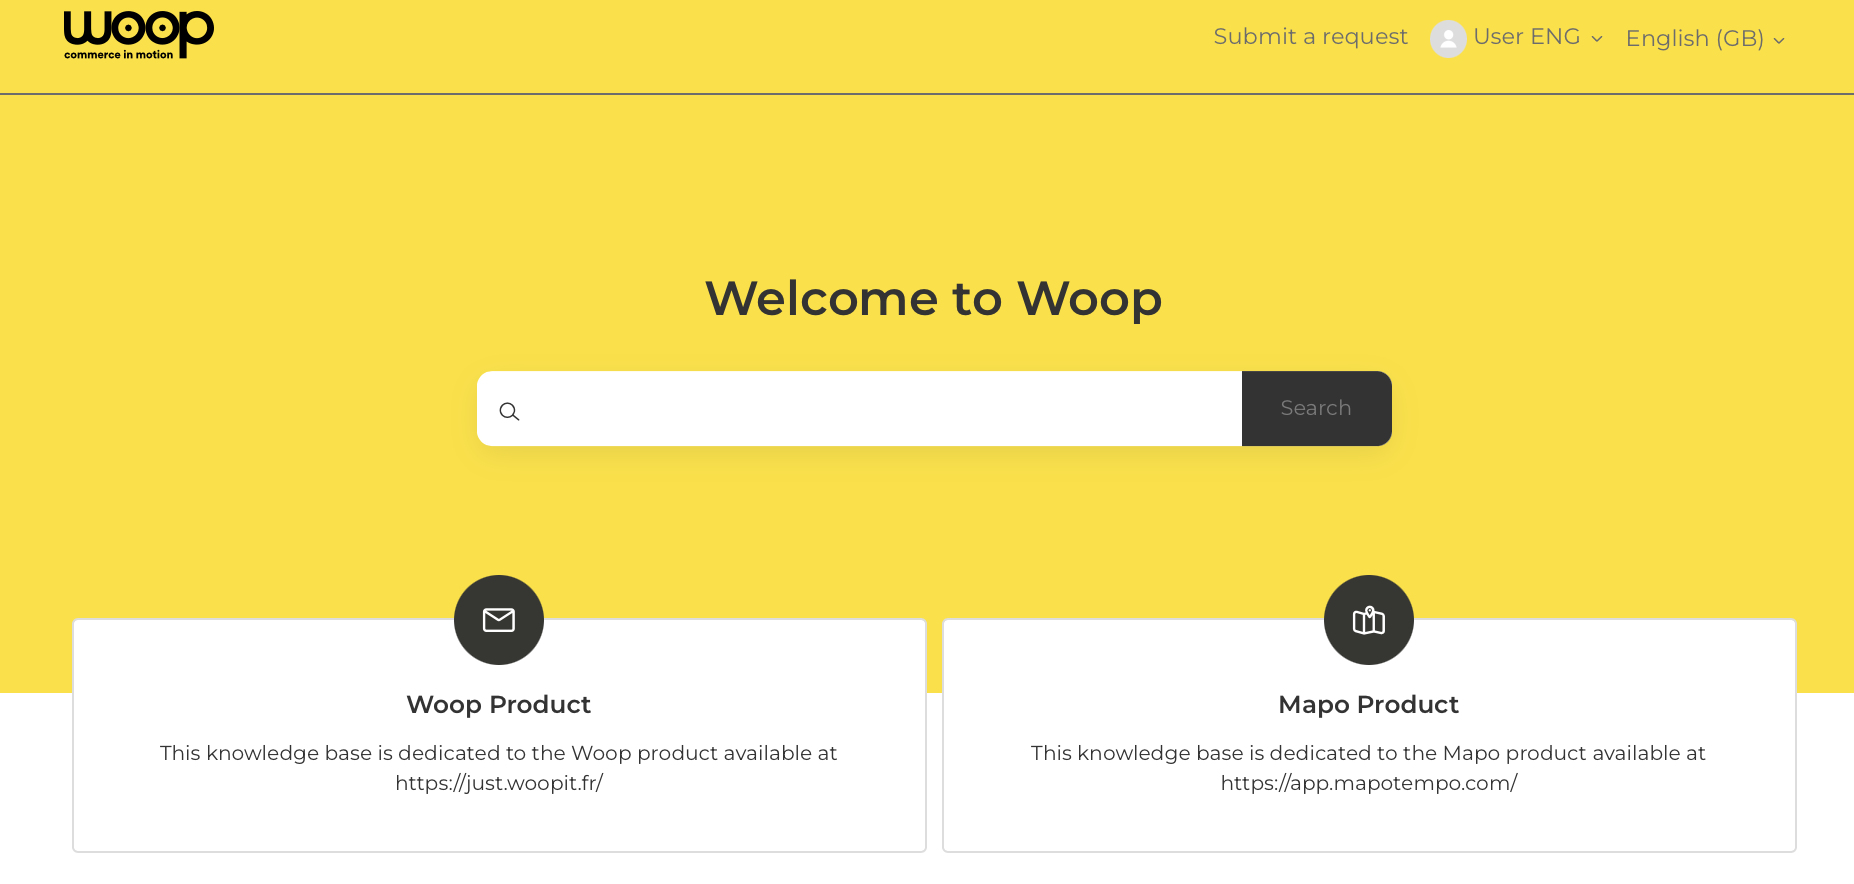
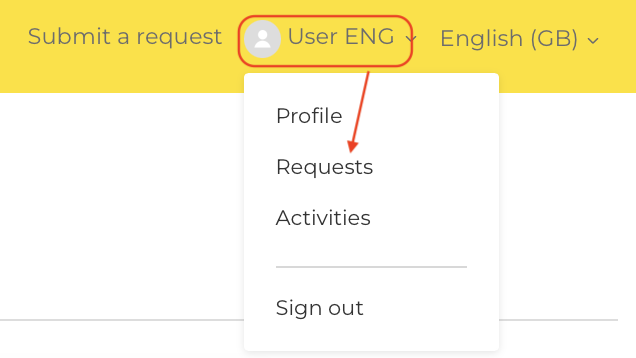
To find your requests, click on your profile name ("User ENG" in this example) at the top right corner then on “Requests”:
The list of your tickets looks like this:
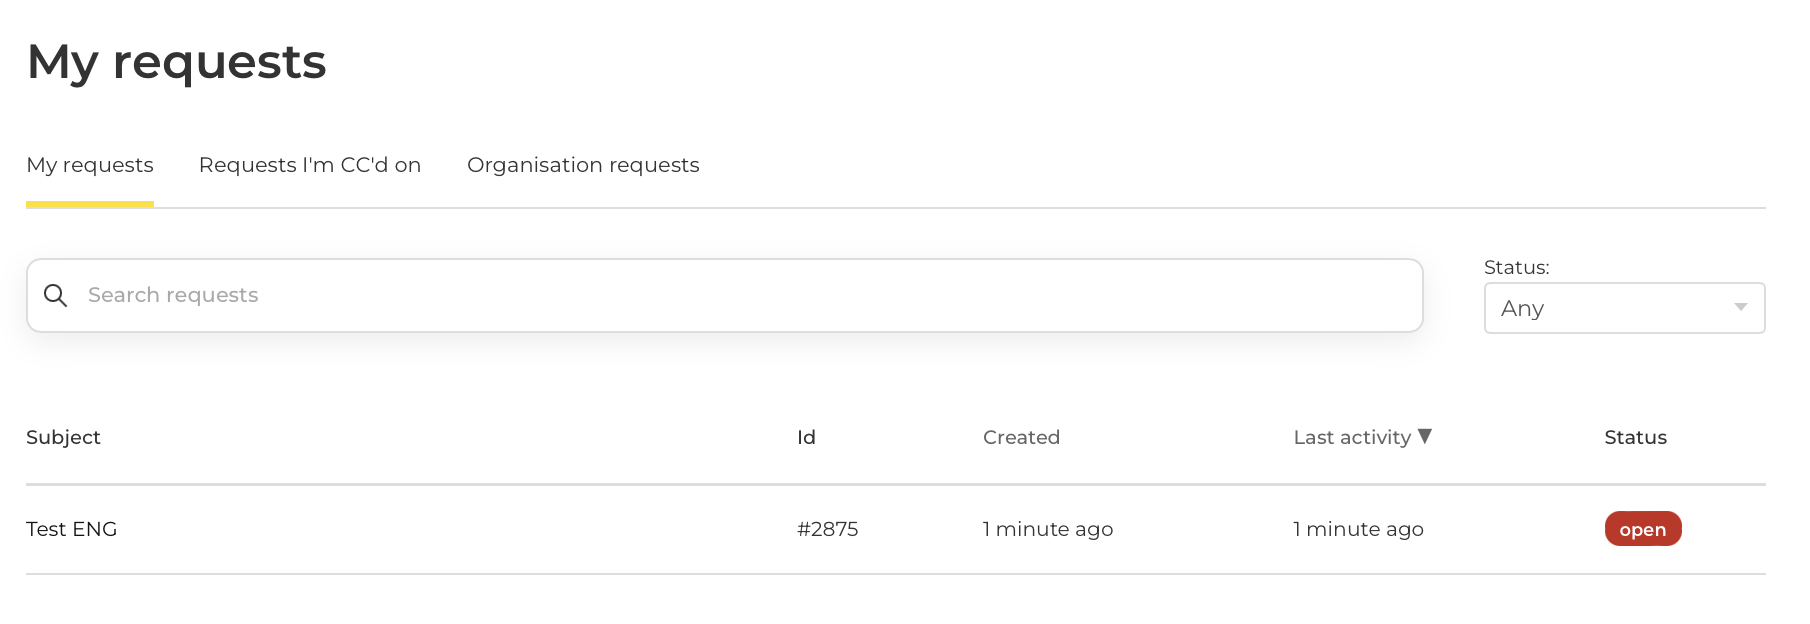
Each line represents a request. It contains the following elements:
- Subject: This is the title of the request that you entered when submitting your request.
- ID: this information indicates the ticket reference starting with # in order to communicate more easily on a particular request.
- Creation: The date the ticket was created
- Last Activity: Indicates the last change made to a ticket in terms of status or comments
- Status: your request state
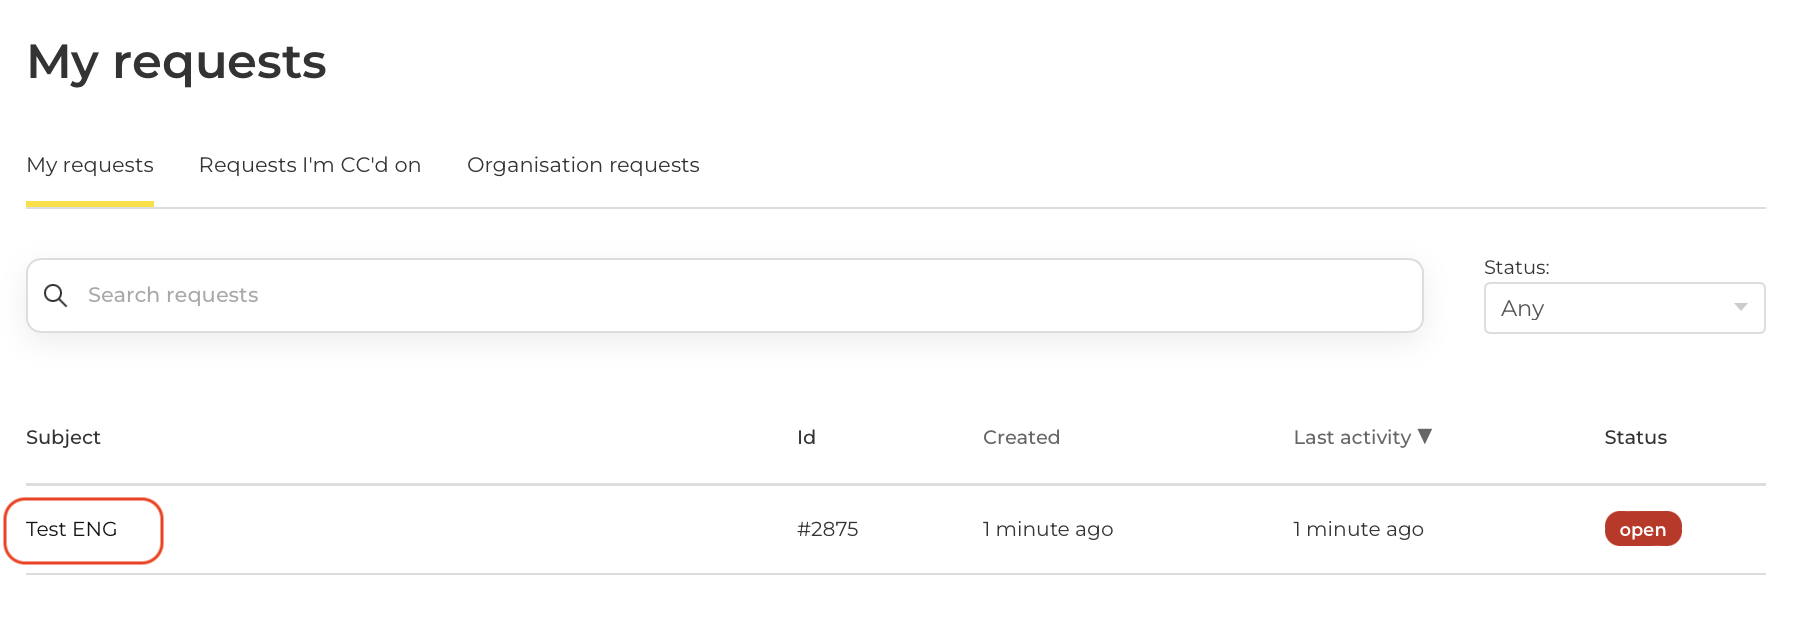
It is also possible to search your request by using the field provided for this purpose or to filter on a particular status to refine the list:

Click on the request title in the "Subject" column to access your request details (here the subject is "Test ENG"):
This screen contains the following elements:
Left part of the page:
- Your request content
- A field allowing you to provide additional information to the request accompanied by attachments
On the right hand side:
- The requester's name: yours or another user in your organization
- The request creation date
- The last activity date: status change or new comments
- Request ID
- The request progress status
- Priority (in the case of an anomaly declaration)
- Impacted product: Mapo or Woop
- Your account name, if you selected Mapo
- The impacted environment: production, staging, etc.
Good to know!
- Once created, the request will be qualified by the Woop teams.
- Certain interventions may lead to invoicing (refer to your contract for invoicing cases).
- Our teams are committed to responding to your requests and resolving any reported anomalies as quickly as possible (refer to your contract for Woop commitments).