Step 1 - Settings
Click on the ‘Bell’ icon at the top right of any Woop page.
A pop-up screen will be displayed.
Click on the gear icon.
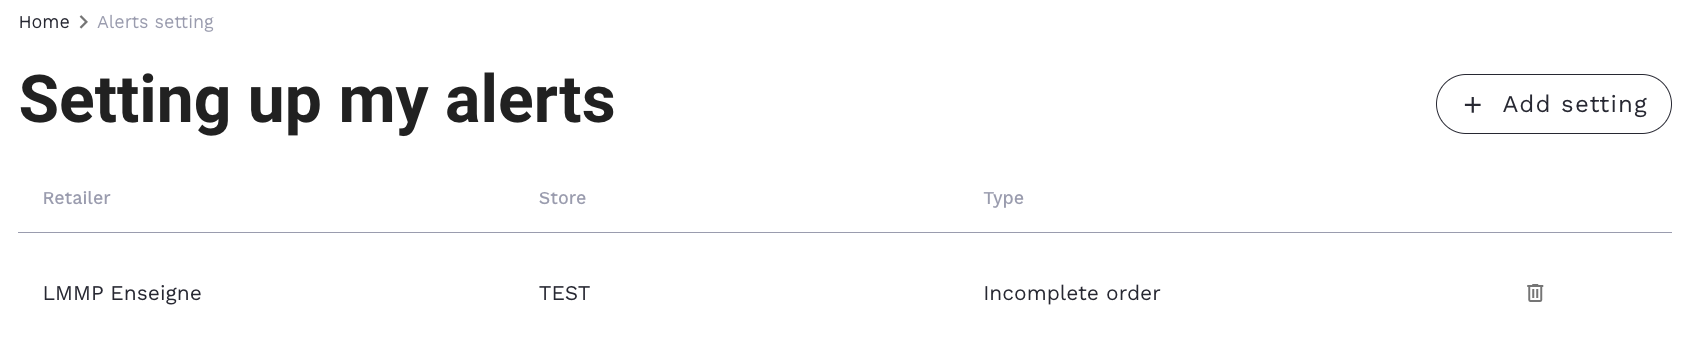
You will be redirected to this page:

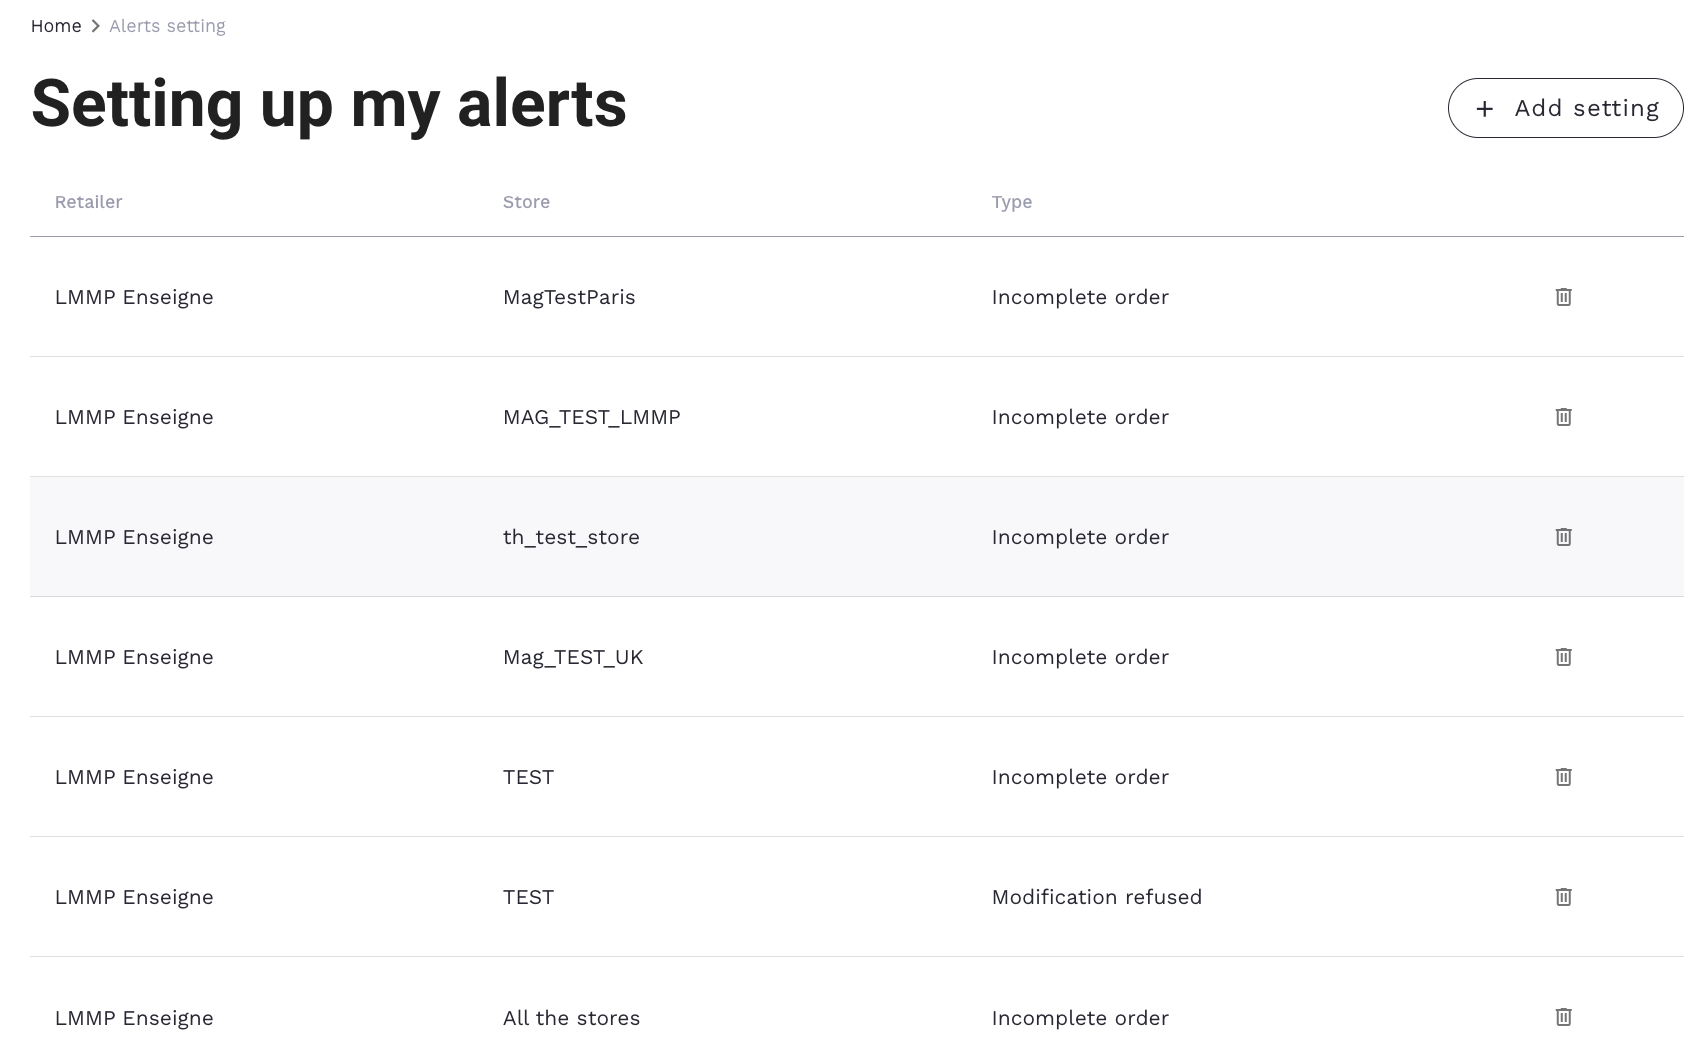
Click on ‘+ Add settings’.
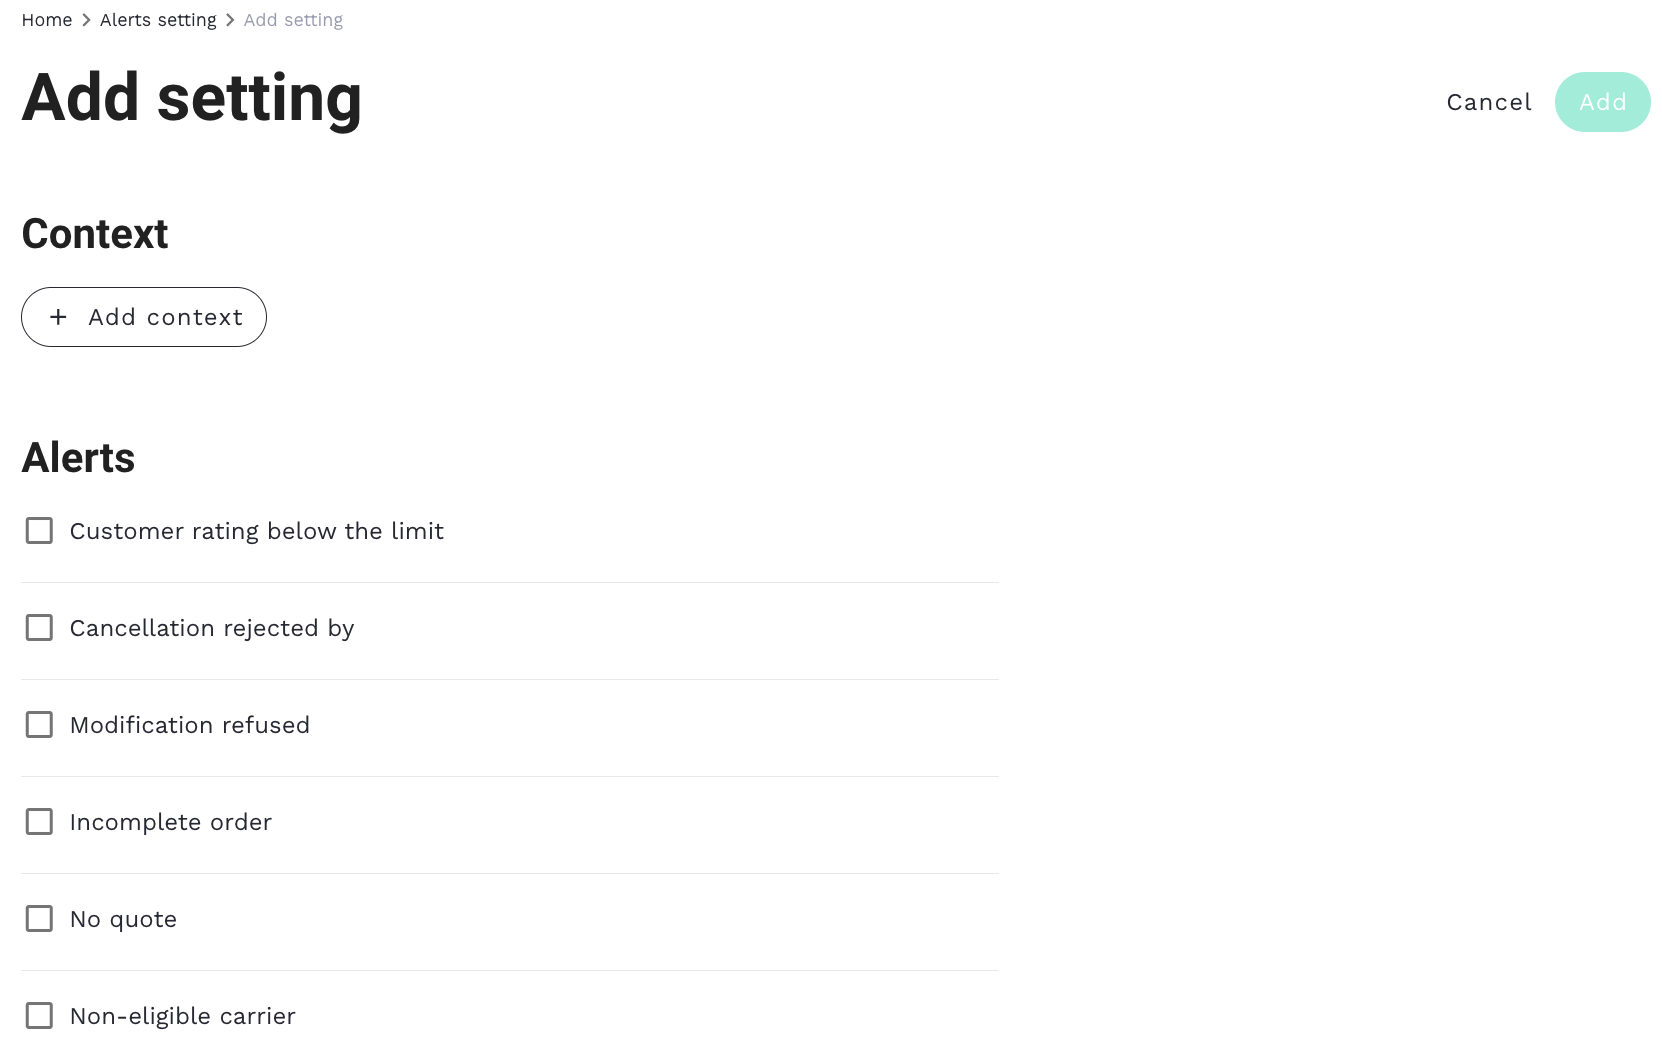
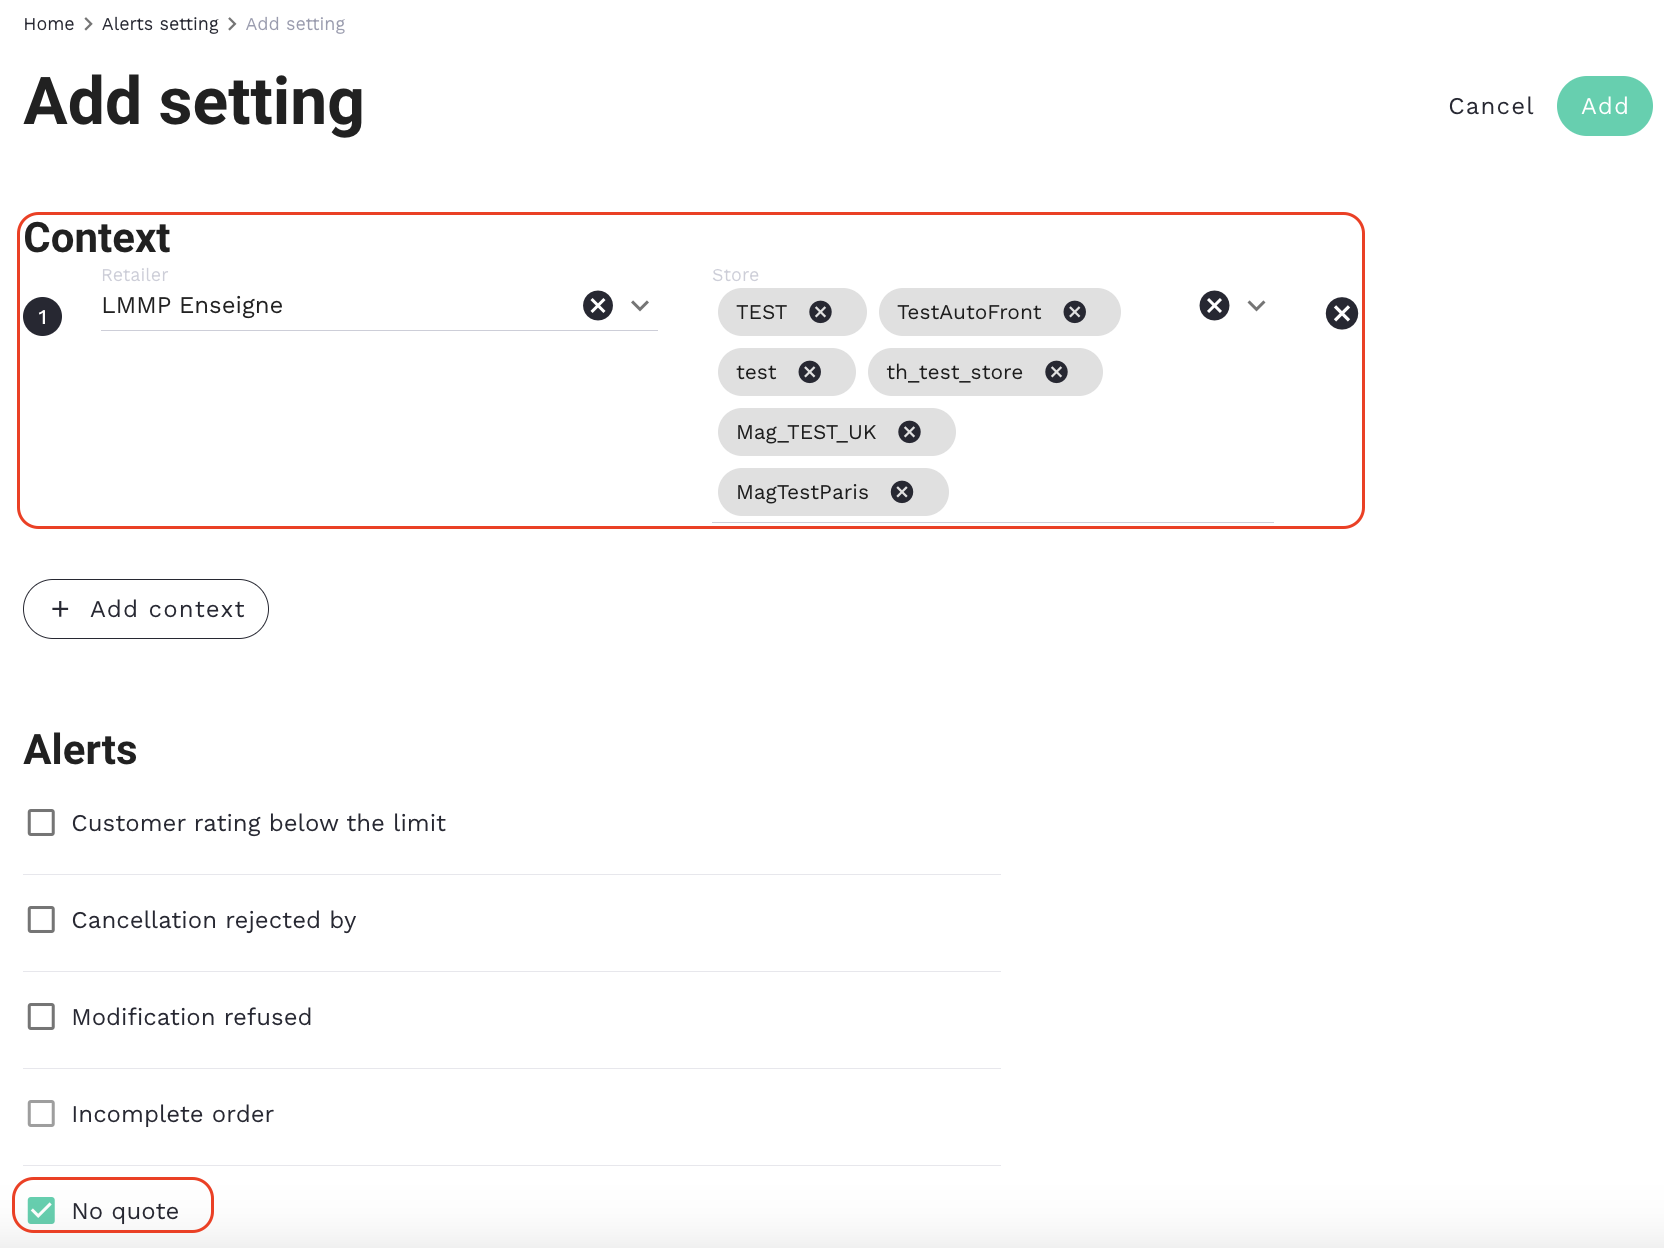
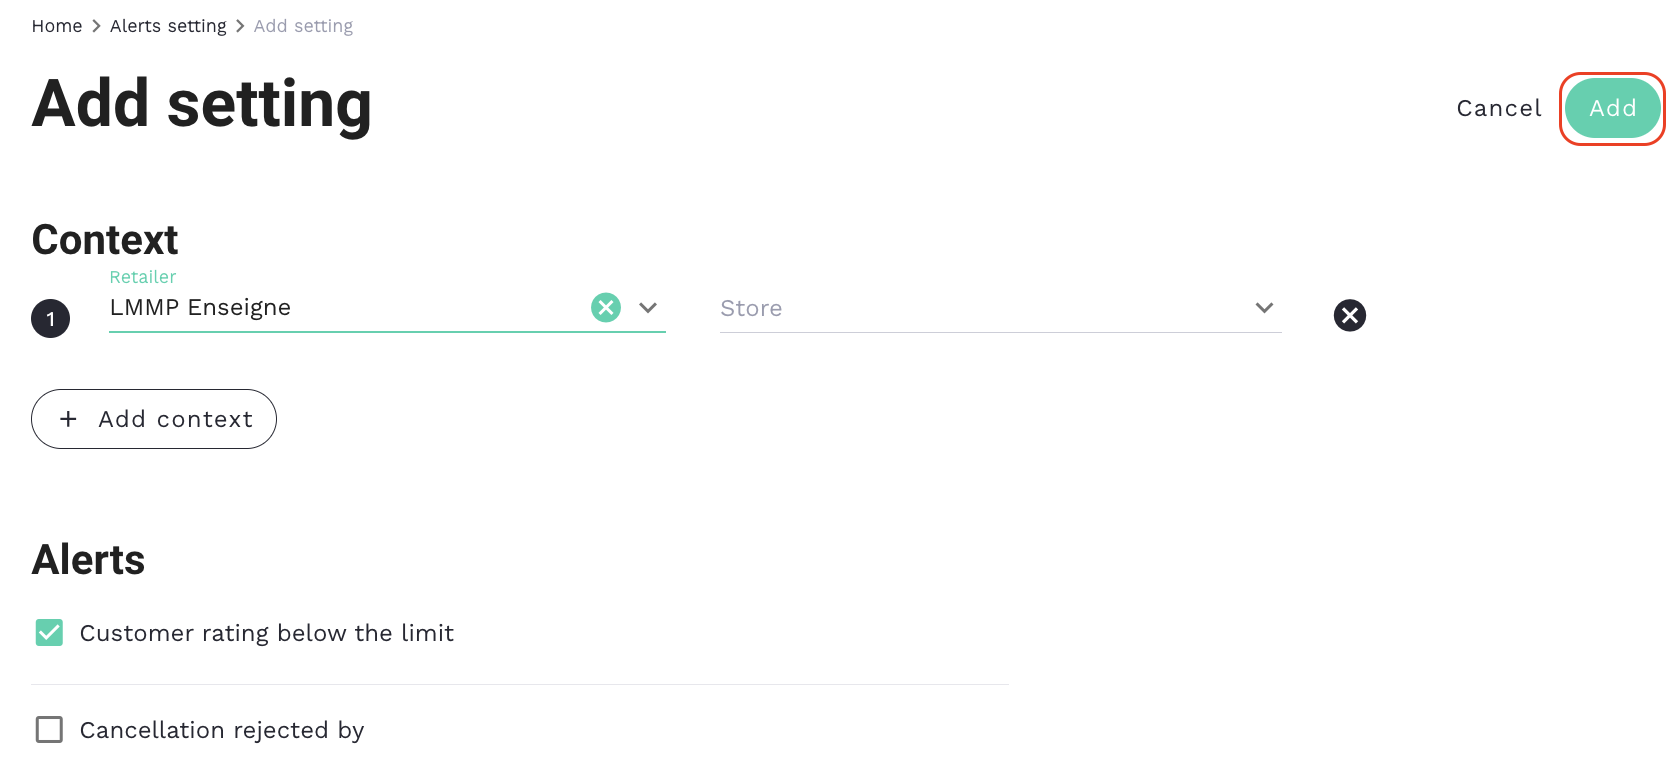
The following page will be displayed:
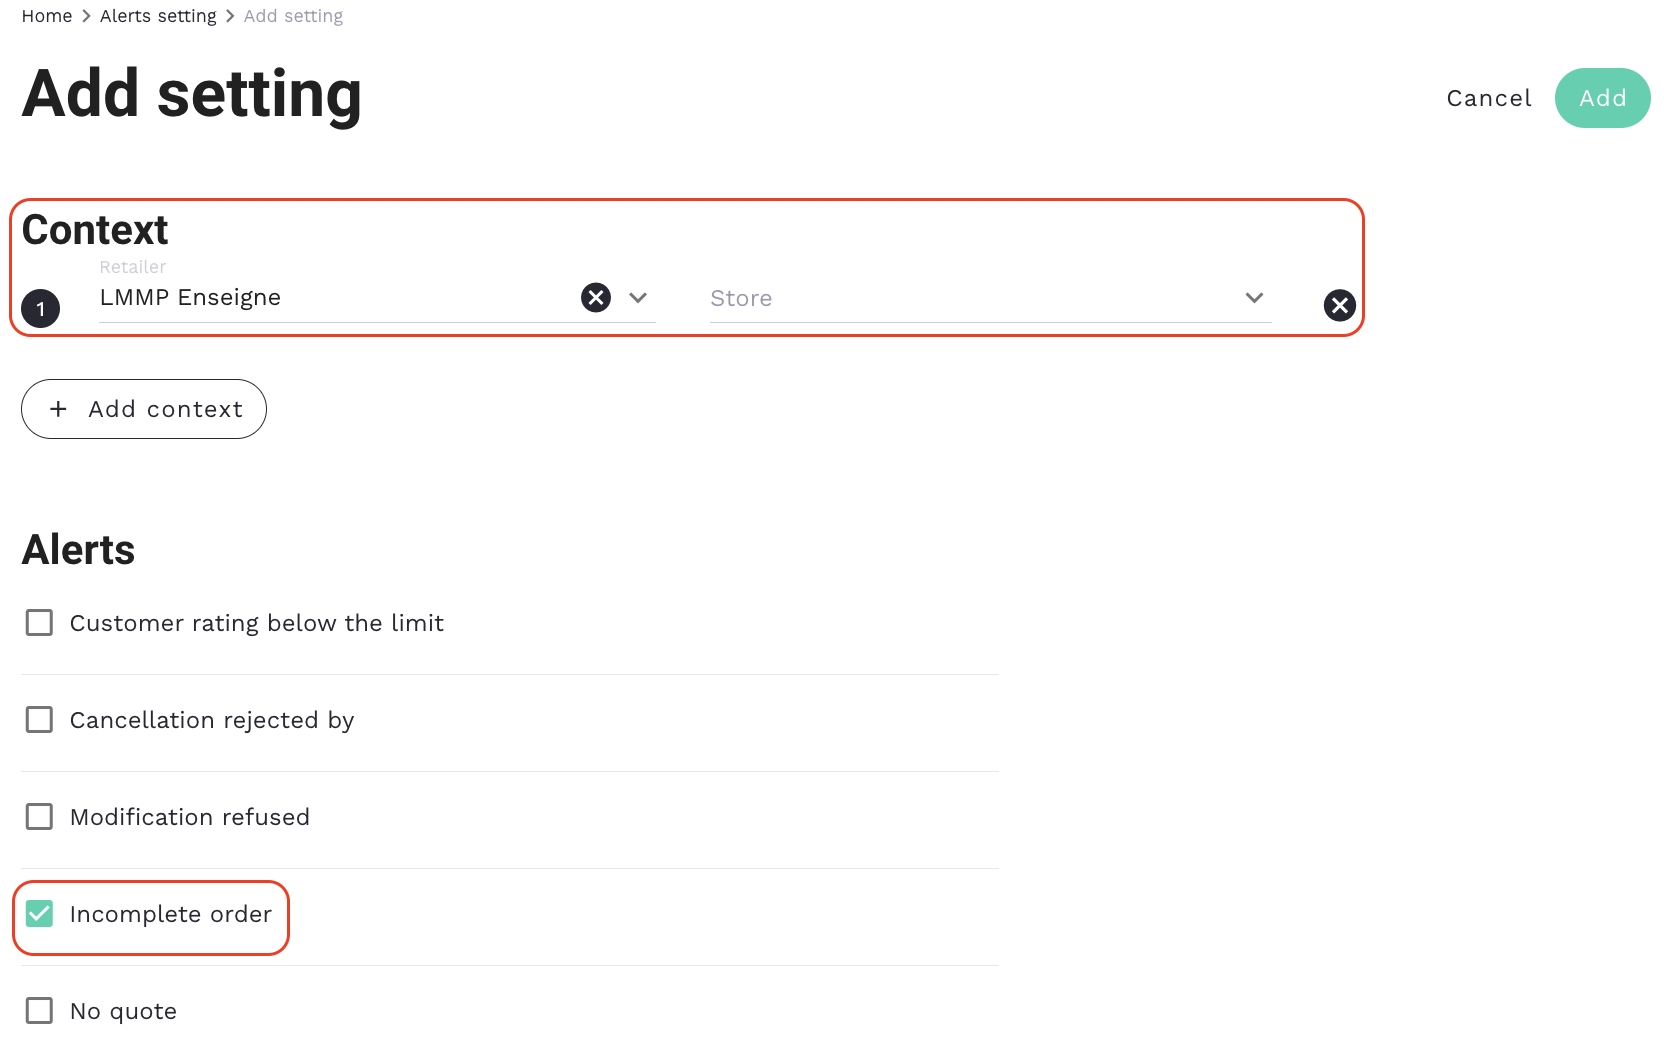
Click ‘+ Add Context’ to connect your alert choice to your brand or store (if you have access to multiple brands or stores).
As a brand, you can select one of the following:
- One brand only, which includes only this brand’s alerts for all stores
Settings before clicking ‘Add’
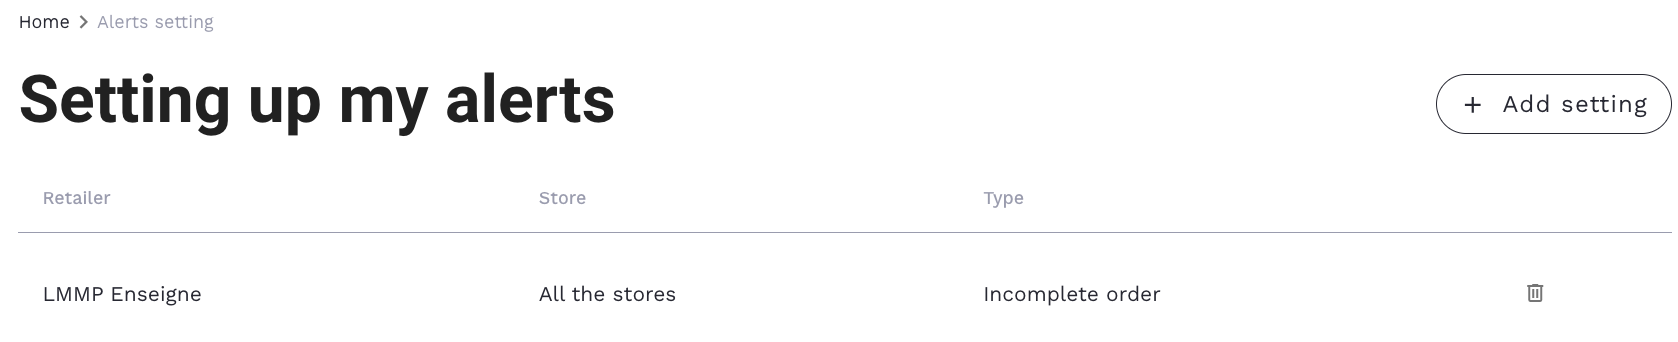
Settings after clicking ‘Add’
- One brand and one store, including alerts only from this store
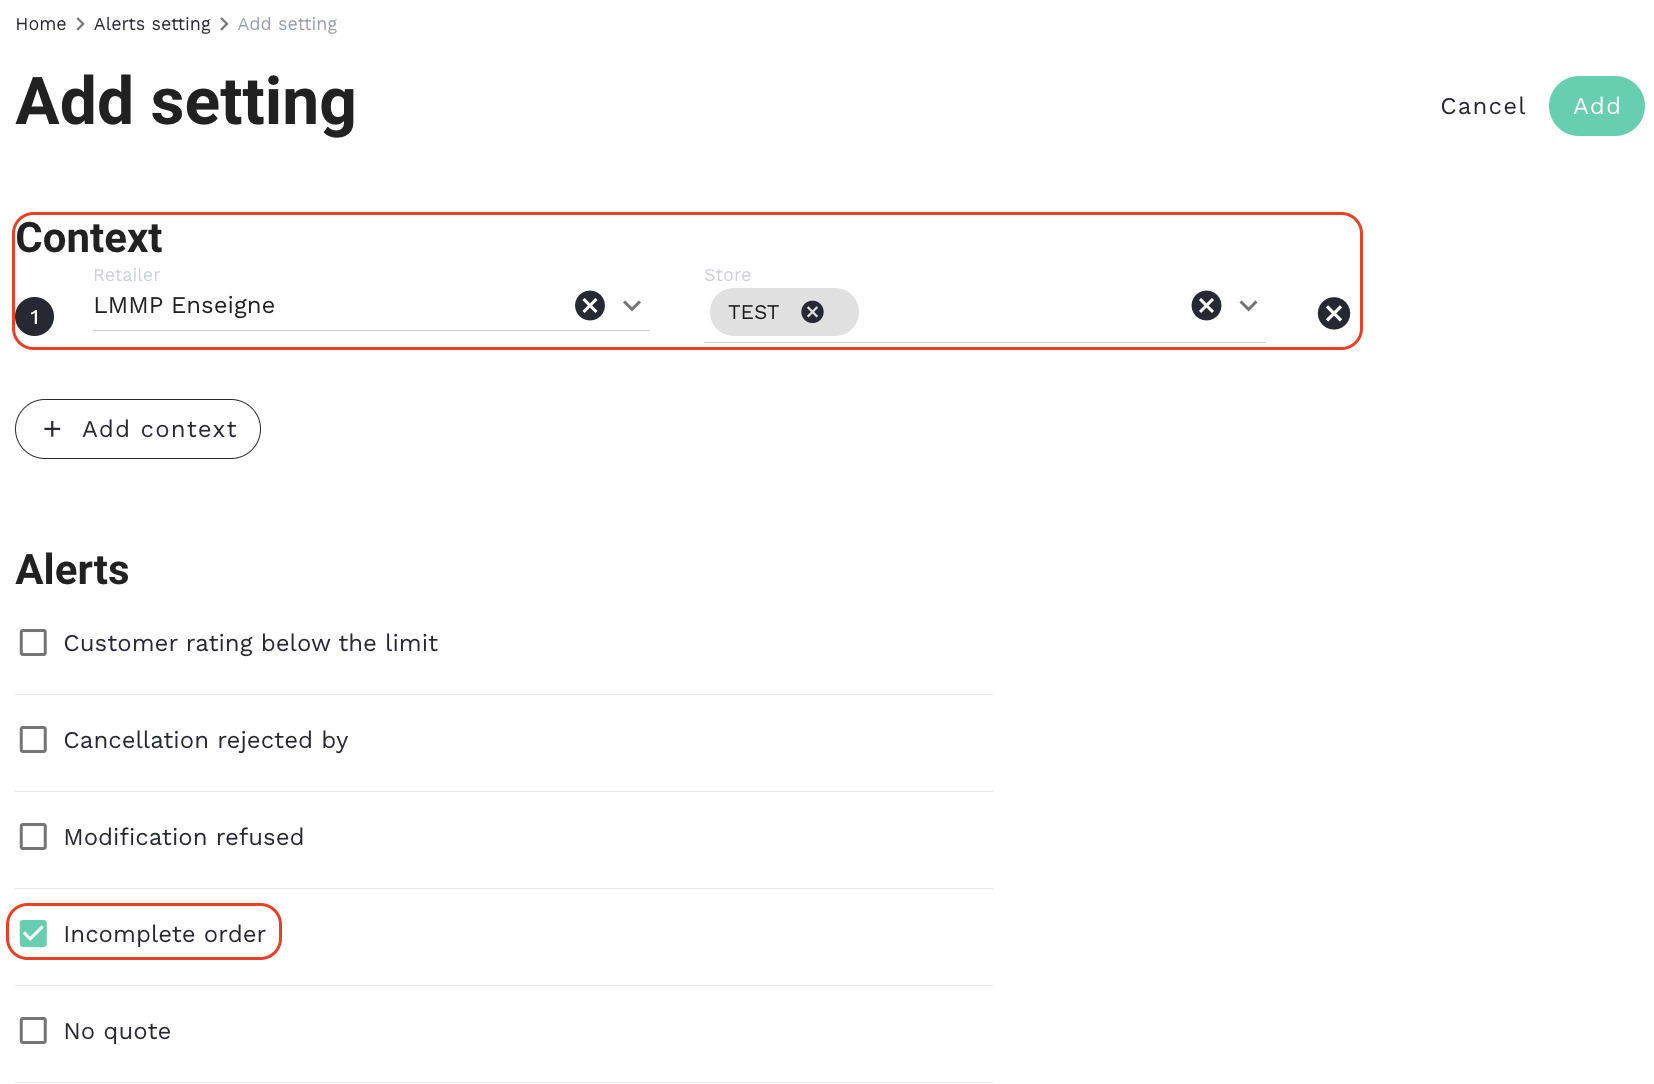
Settings before clicking ‘Add’
Settings after clicking ‘Add’
- One brand and several stores, including alerts from the stores linked to this brand
Settings before clicking ‘Add’
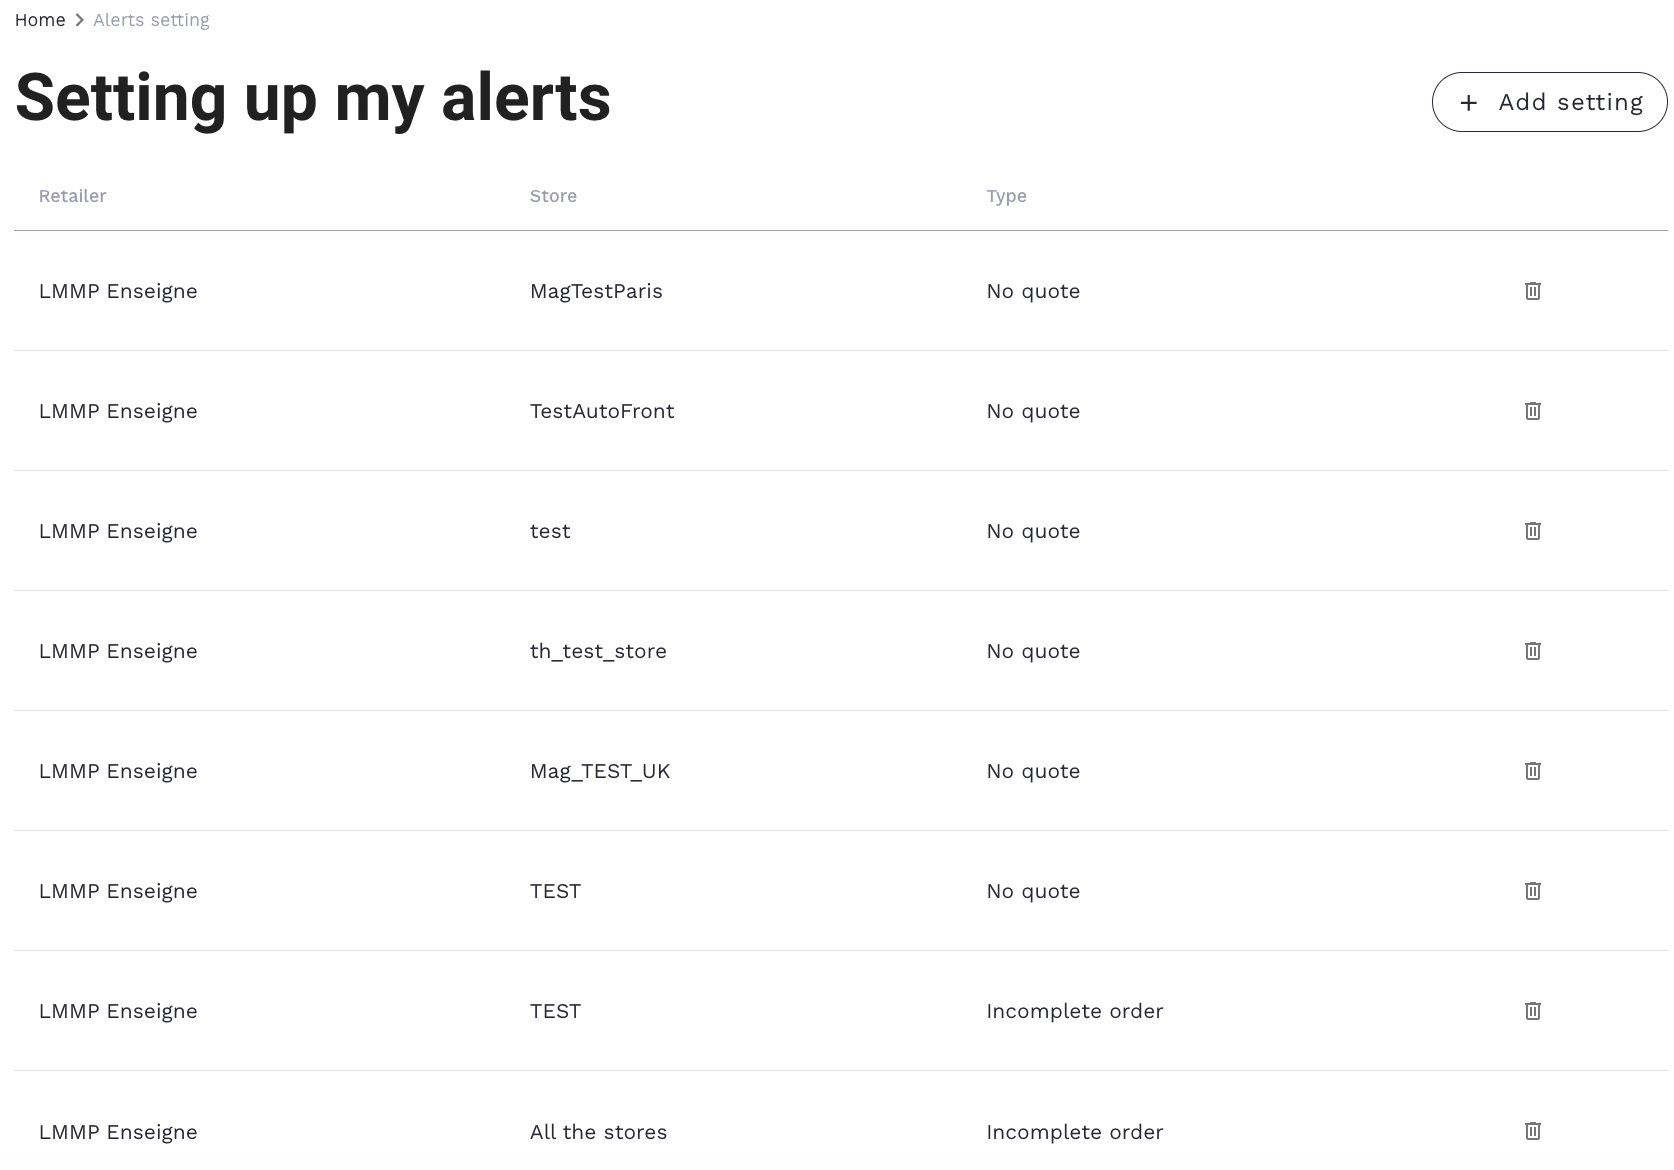
Settings after clicking ‘Add’
It is not possible to add settings for a store without a brand. It must be attached to a brand.
Settings can only be added by a user on their behalf.
Click on the alerts you want to set up for the selected brands and stores by selecting:
Order status
- Incomplete order (for the order status is ‘to be completed’)
- No quote
- Ineligible carrier (for the order status is ‘no carrier’)
- Carrier unavailable
Delivery status
- Order failed on collection (the delivery status is ‘Failed to collect with rescheduling’ and ‘Failed to collect from the sender’)
- Order arrived with reservations (the delivery status is ‘Delivery made with recipient reserve’)
- Failed delivery with return to shop (the delivery status is ‘Failed delivery with return to sender’)
- Cancelled delivery
- Blocked delivery
- Delayed delivery
Delivery service
- Product return
Customer rating below the limit following the satisfaction questionnaire sent to end customers **** and cancellation/modification refused by the carrier
- Customer rating below the limit
- Cancellation declined (manually and by API)
- Modification declined (API Only)
Click on ‘Add’ to validate your settings.
Step 2 - Where can I find my alert settings?
To find the alert settings, click on the ‘Bell’ icon, then on the gear icon to access the page:

VISIBILITY AND EXPLANATION OF NOTIFICATIONS
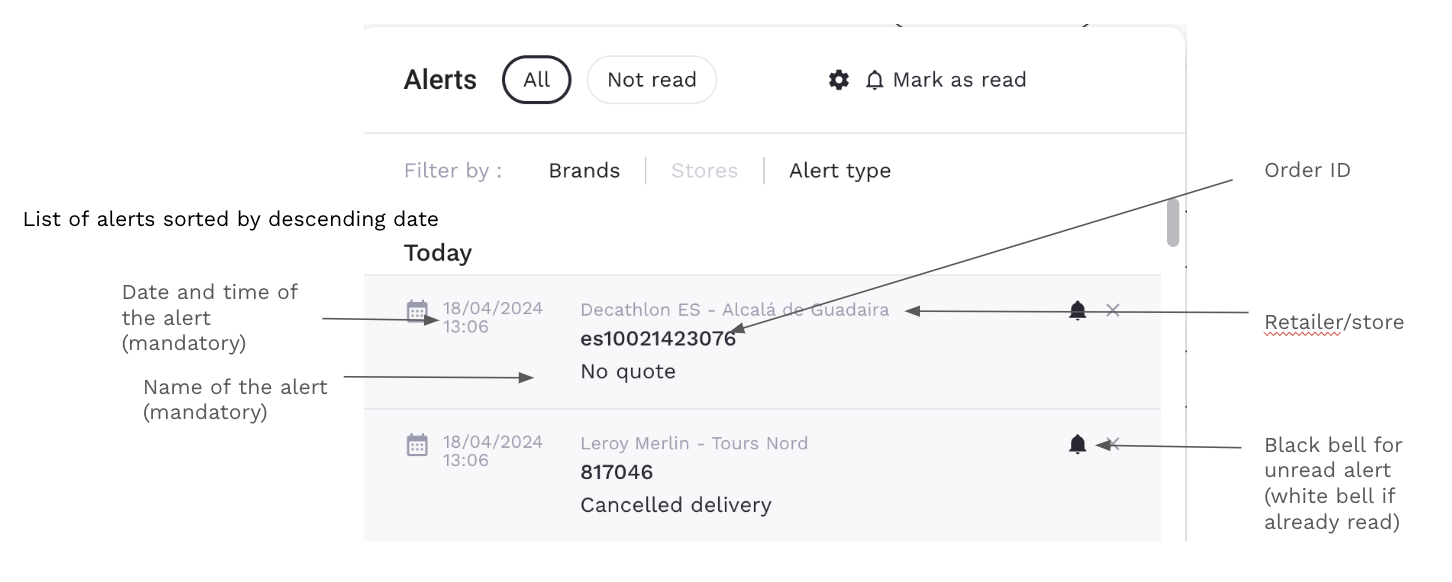
After clicking on the bell icon, the alerts are displayed as follows:
Old view
New view
RG: Change alerts which have been ‘read’ to ‘unread’
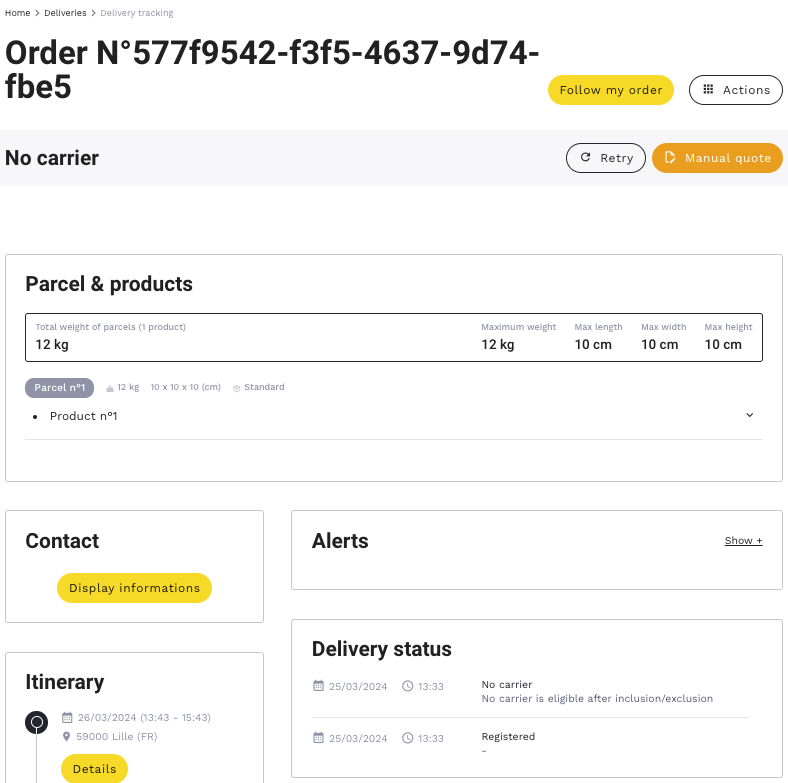
When you click on an alert, you will be directed to the order form (which can be found in the ‘Deliveries’ section)
FILTERS FOR BRAND, STORE, AND TYPE OF ALERT
Three filters are available on this pop-up:
- Filter by ‘Retailer’
- Filter by ‘Store’
- Filter by ‘Alert type’
Old view
New view
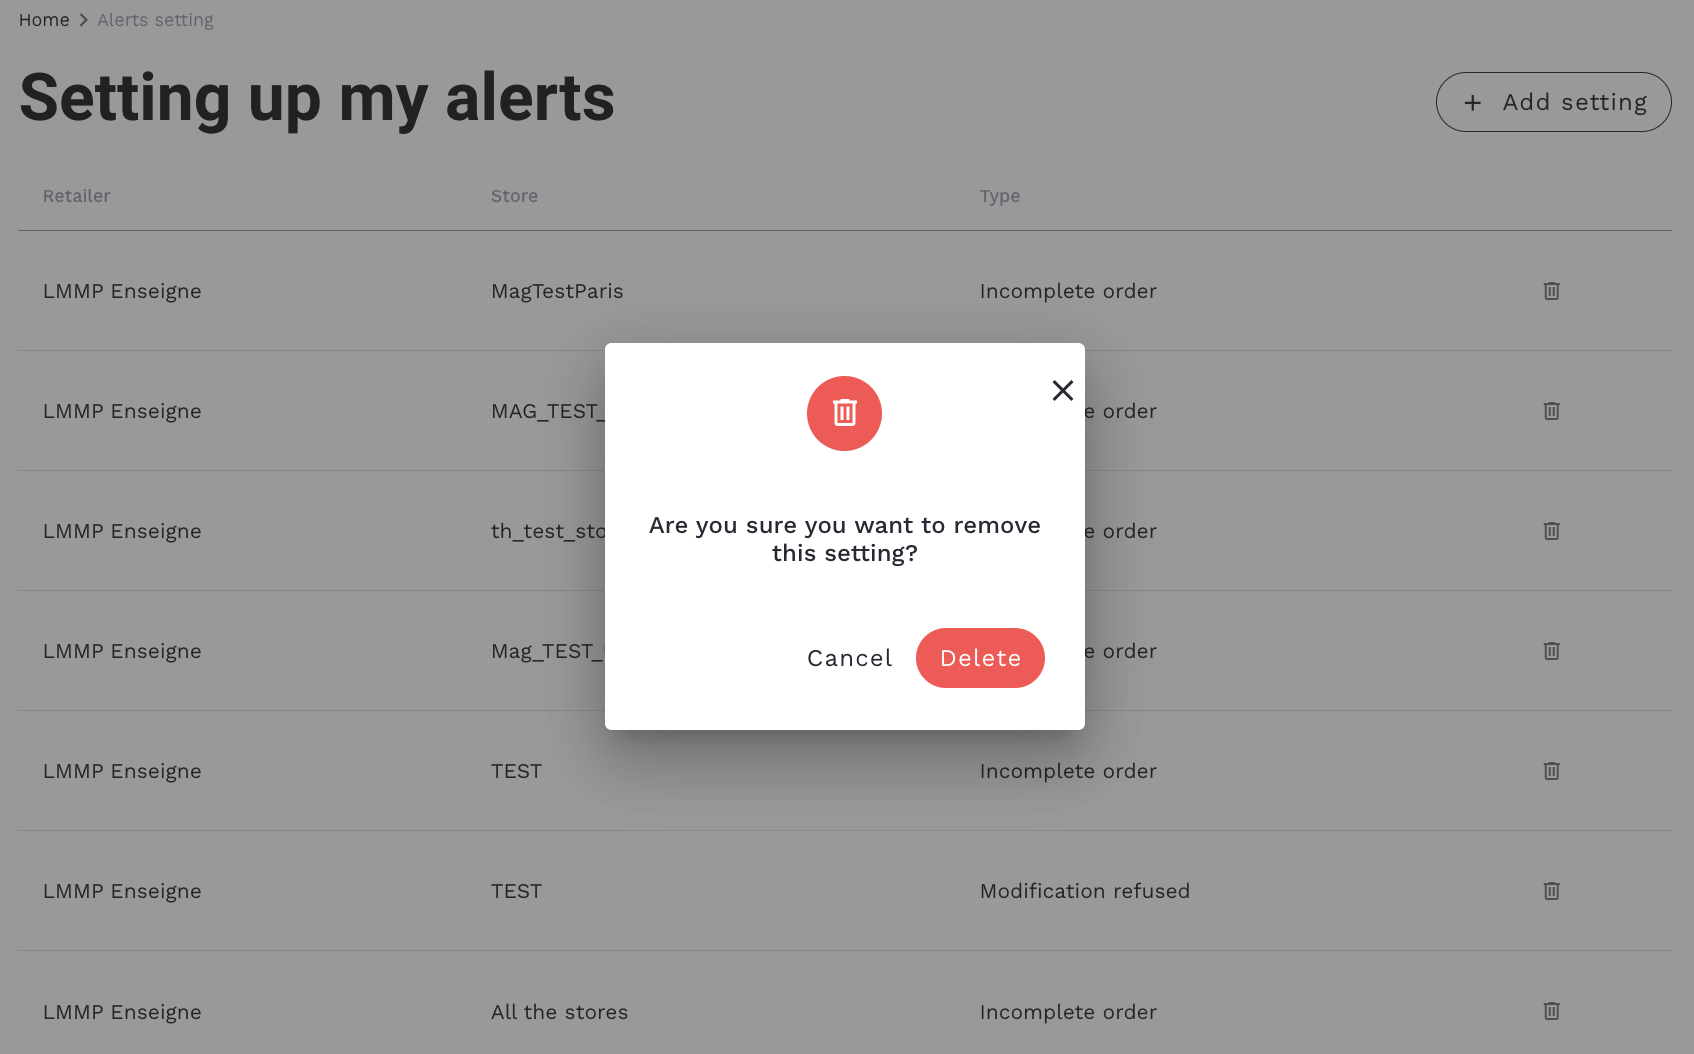
DELETE MY ALERTS
On this page, you can delete your alerts.
Click on the gear icon to set up your alerts.
- ‘All’ displays all alerts, and ‘Unread’ displays only those that have not been read. By default, the ‘All’ button is selected.
- ‘Mark as read’ changes all unread alerts in the list to ‘read’ status. If all alerts are read, then the icon is greyed out.
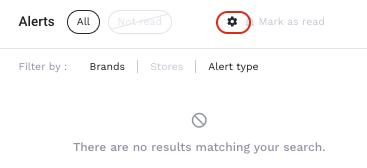
ALERTS WITHOUT SETTINGS
Alerts without settings will not be visible here:
But they can be viewed here, by filtering orders by ‘Order Status’ or ‘Delivery Status’.